 os x preview pdf" width="1280" height="720" />
 os x preview pdf" width="1280" height="720" />
The OS X Preview app is a great way to view PDFs on your Mac, to the point where many users prefer it over more powerful software like Adobe Acrobat. And using Preview to view PDFs is simple, too, with the intuitive interface making it fairly easy to change your viewing preferences, combine documents, and even rearrange existing pages. But what if you want to extract a page from a PDF and save it as its own separate document? It’s not quite clear how to do that in Preview, but that’s what we’re here for. So read on to see how you can extract one or more pages from an existing PDF and save them as a new document.
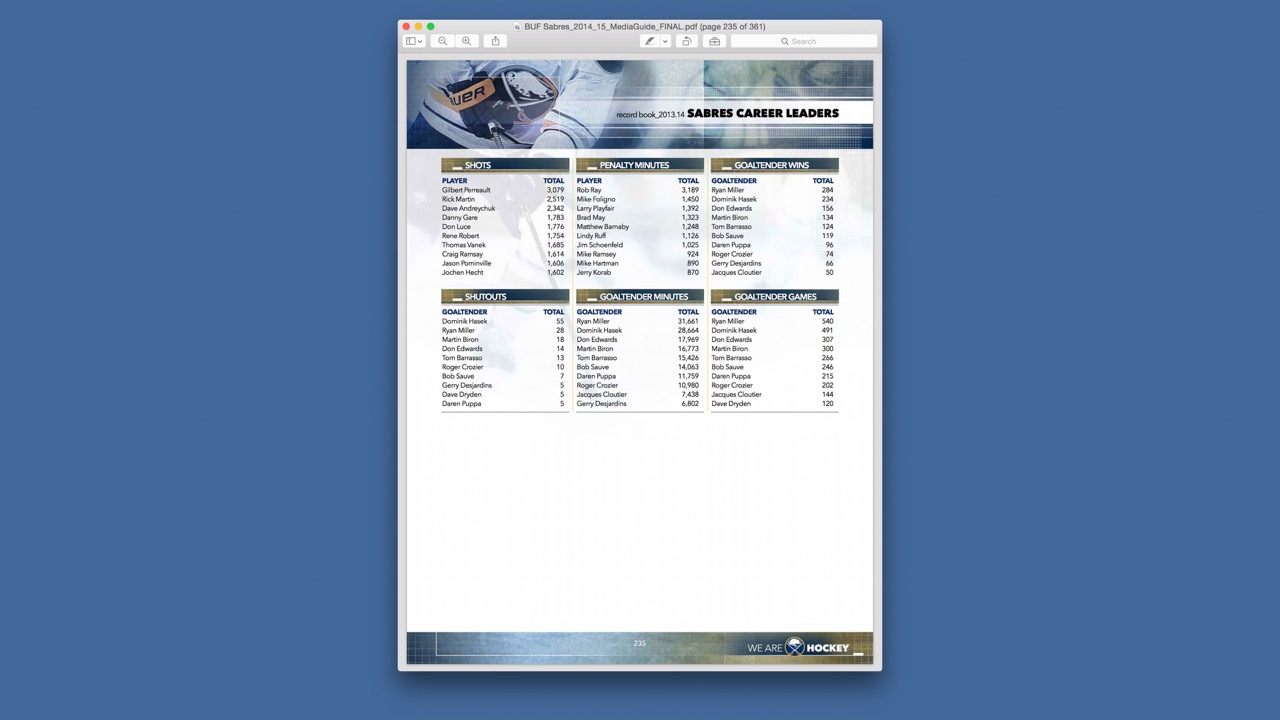
For this tutorial, we’re using a sample PDF of the Buffalo Sabres 2014-2015 Media Guide. This is a huge 361-page document, and we want to extract just a single page — page 235, which lists Sabres career records — so that we can email it to someone without having to send them the entire document.
There are two methods for extracting one or more pages from a PDF document in Preview. The first, something we call the “Drag and Drop Method,” is quick and dirty, but doesn’t give you much control over how the file is saved or modified. The second, let’s unofficially label it the “New Document Method,” is a bit more detailed, but lets you modify how and where the new file is saved, along with some other potentially important options. We’ll start with the New Document method first so that you can understand what’s happening with this process, but if you’re in a hurry, just jump to the second section, below.
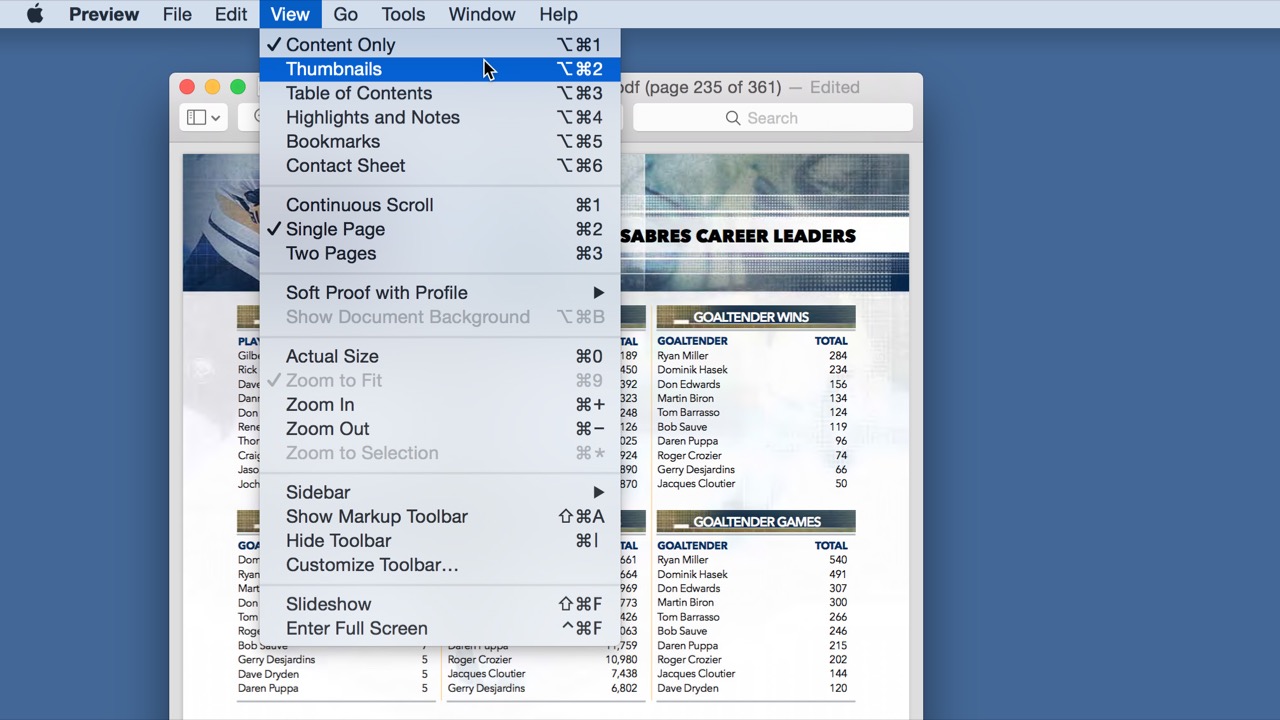
For both methods of extracting one or more pages from a PDF, our first step is to change to the Thumbnail view in Preview, which will let us select a single page. This is the same view that is useful for deleting or rearranging pages in a PDF document. With Preview selected, head to the OS X Menu Bar and select View > Thumbnails. You can also switch to Thumbnail view by using the keyboard shortcut Option-Command-2.  os x preview view as thumbnails" width="1280" height="720" />
You’ll see a sidebar slide in to the left of your PDF document showing each page individually from top to bottom. Find the page you want to extract and click on its thumbnail to select it. Preview will jump to that page and display it on the right of the window (if you weren’t already navigated to the page previously) and the page’s thumbnail will be surrounded by a gray box in the Thumbnail sidebar.  os x preview pdf thumbnail view" width="1280" height="720" />
In our example, we’re just extracting a single page from the PDF. If you’d like to extract multiple pages and place them all in a single new document, hold the Shift key and select multiple sequential pages from the thumbnail sidebar, or hold the Command key to select multiple non-sequential pages.  os x preview new from clipboard" width="1280" height="719" />
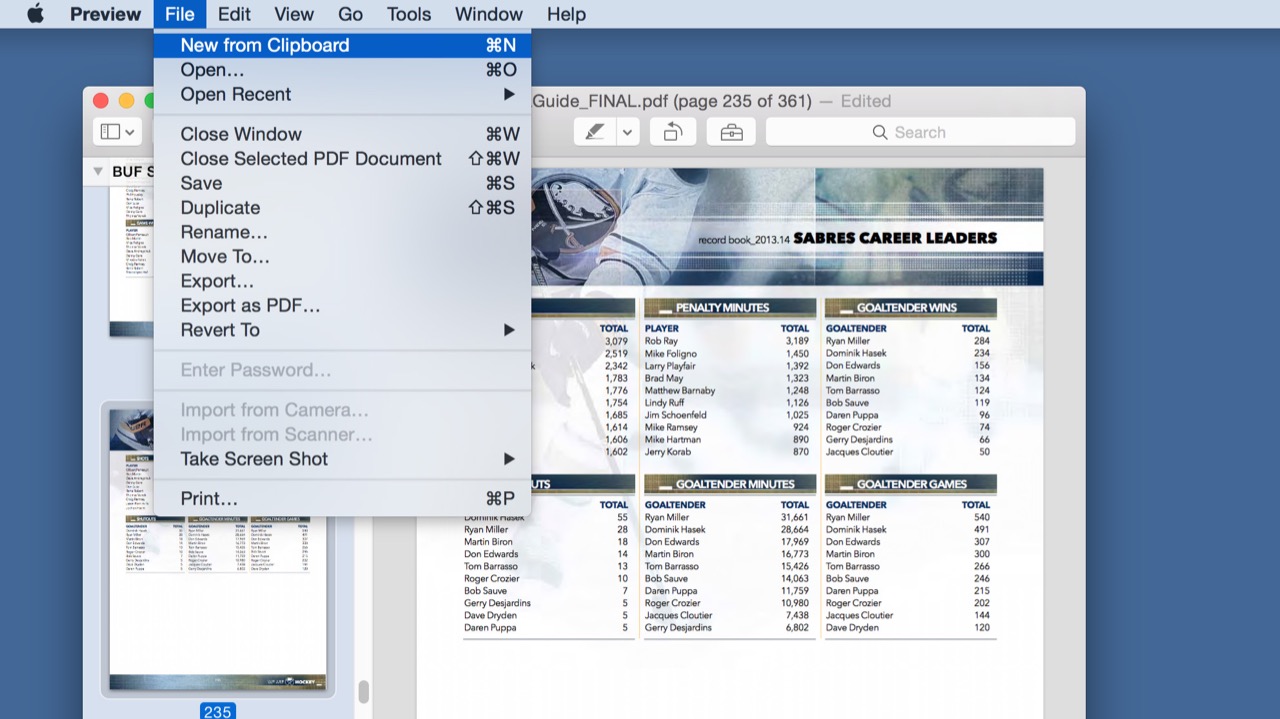
With our page(s) selected, we need to copy them to the clipboard, either by selecting Edit > Copy from the Menu Bar, or by using the keyboard shortcut Command-C. Next, we’ll tell Preview to make a new PDF document from the page(s) we just copied, which can be accomplished by selecting File > New From Clipboard in the Menu Bar or by using the keyboard shortcut Command-N.  os x preview extract single page pdf" width="1280" height="720" />
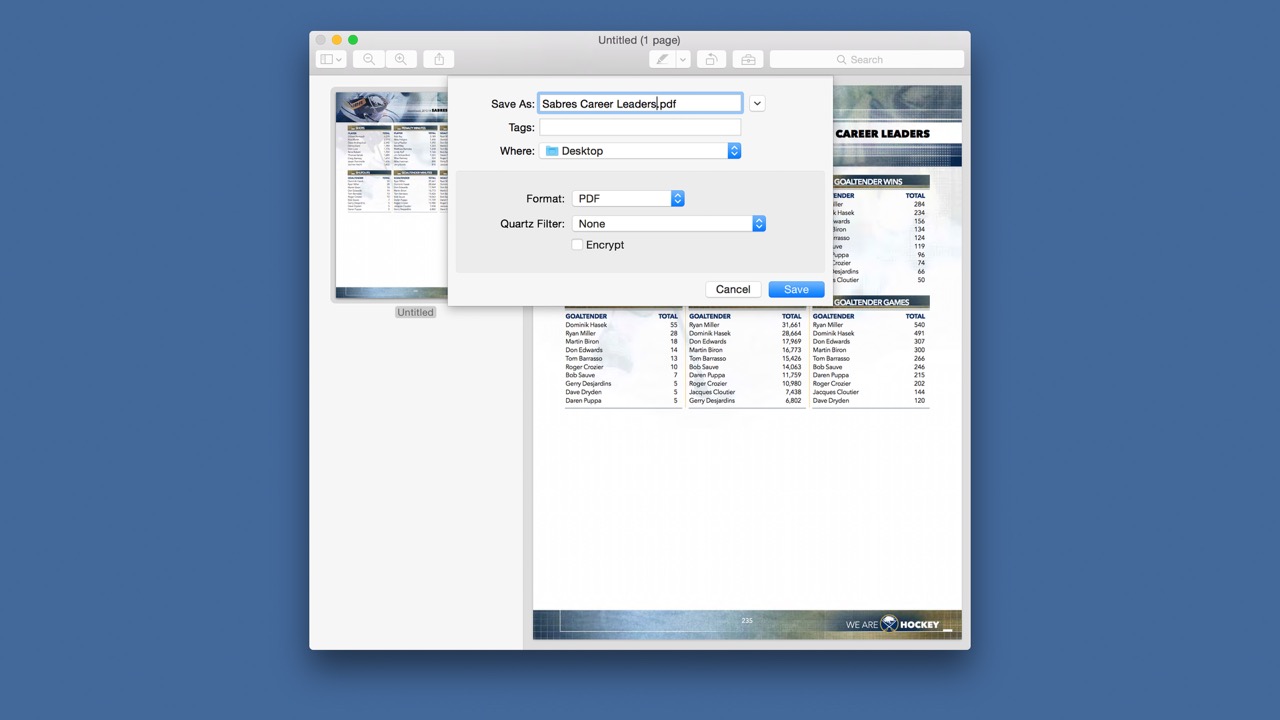
A new Preview window will appear containing the page(s) you copied previously. From here, you can rearrange the pages if desired, or even delete any pages that were copied by accident from the original document. When you’re ready, go to File > Save and save the new PDF file in your desired location.  os x preview save single pdf" width="1280" height="720" />

Now that you understand the extraction process, here’s the faster “Drag and Drop” method, although it comes with some caveats.
First, repeat the steps above to change Preview to the thumbnail view, and then select one or more pages from the thumbnail sidebar. Now, simply click on one of the selected pages and drag your cursor outside the bounds of the Preview app. You’ll see a green circle with a ‘plus’ icon appear below your cursor, along with a faint preview of your selected pages.
While continuing to hold the mouse or trackpad button, move your cursor over a blank space on your Desktop, or to a location in Finder, and drop the files. A single PDF will appear containing the page(s) you extracted. The file will have the original PDF’s name with “(dragged”) appended to it. From here, you can further modify the file, archive it, or send it on its way to friends and colleagues.
After learning about both ways to extract pages from a PDF document, it appears at first that the “Drag and Drop” method is so much faster (and it is). So then why would anyone use the “New Document” method?
The reason that the New Document method of extracting pages from a PDF may be preferable to the quicker Drag and Drop method is that the former allows you to modify the new PDF’s file name, add OS X Finder tags, apply Quartz Filters, or encrypt the file, all during the extraction process. You can even change the output format to something other than a PDF, such as a JPEG or TIFF file.
Of course, you can make all of these changes if you use the Drag and Drop method, but you’ll need to open the file(s) separately after extracting them, make the changes, and then re-save them, all of which may negate any time saved during the actual extraction. Therefore, if you just need a quick copy of a few pages from a PDF, the Drag and Drop method is the way to go. But if you need to make any changes (file names, formats, tags, etc.), it’s probably easier to use the detailed method.
Note, however, that neither method as described here actually modifies the original PDF document. Any pages that you copy into a new document, or drag and drop to your desktop, still remain in the original file.